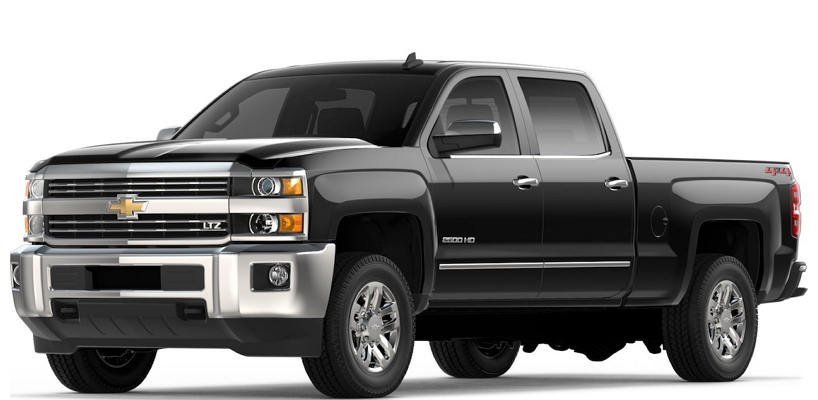
The following is a step-by-step instruction on how to install a ReadyLift 8-inch lift kit on the 2018 Chevy Silverado 2500 HD Midnight Edition Duramax Diesel Z71 package. This pickup truck, and its cousin, the GMC Sierra, belong to a range of full-size, heavy-duty pickup trucks engineered and manufactured by General Motors as successors to the Chevrolet/GMC C/K pickup truck line. The Silverado nameplate, which was used on the predecessor, is taken from this trim level.
 First of all gather the tools that you may need and raise your Chevy Silverado 2500HD off the ground. Use a wrench to take the wheel & tire package off the front axle suspension. Remove front and rear skids plates from underneath the truck. Remove the shocks from the vehicle. Remove the torsion bar adjustment bolt. Compress the torsion bar key and remove the bolt and block from the crossmember. Remove the torsion bar from the vehicle. With both torsion bars and ABS pump removed, take out the wide torsion bar crossmember.
- Now it is time to move to the front end of the truck. Remove both sway bar links, and then take away the outer tie-rod ends from the steering knuckle. Unbolt the ABS wiring bracket, the caliper and caliper bracket, and hang everything out of the way. Pop the axle cover open and unscrew the axle nut. Remove the brake rotor from the hub. Remove the bolts and hub bearing from the knuckle. Loosen and remove the lower and upper ball joints. Remove front CV axles by unbolting and pulling them out. Then remove the control arm from the truck.
- Remove the rear crossmember. Unbolt and move the driveshaft out of the way. Remove the wiring. Remove the front differential using a floor jack. Use a cutting wheel to cut off the driver’s side control arm pocket. Measure 1 ½ inches from the bolt hole inwards, and then make your cut. Spray paint the metal to avoid corrosion.
- Now it is time to put back the front differential. Start with the installation of the brand-new differential brackets. Then lift up the differential on a jack and bolt it back to the new ReadyLift brackets. Reconnect the drive shaft with the differential and bolt everything up. Reconnect all the wiring and hoses. Now install the ReadyLift crossmembers by using either new or existing hardware. Install the OEM lower control arms, then begin installing the ReadyLift upper control arms. Tighten everything up to necessary specifications. Swap the o-ring from the OEM knuckle into the ReadyLift knuckle and then reinstall the hub bearing. Proceed with the installation of OEM CV axles, then install ReadyLift spacers. With CV axles bolted in place, install ReadyLift skid plates.
- Now we need to install ReadyLift bump stops. Thread in new ReadyLift bump stop extensions with tapered inserts. Now reassemble the braking system back up. Install the ReadyLift brake line bracket with all of the needed hardware. Mount tie-rod ends into ReadyLift steering knuckles. Now it is time to install the brand-new ReadyLift shocks. Then proceed with the installation of the new ReadyLift sway bar links. Tighten up all of the hardware to the necessary specs. Install the torsion arms. Go ahead and install the ReadyLift front crossmember and new keys, then tighten up all of the blocks and hardware.
- Now let’s move to the truck’s rear end. Unbolt rear-end hydraulic brake lines and their brackets, unbolt the shocks, remove U-bolts and their hardware. Lower the entire axle assembly. Go ahead and install the new ReadyLift lift blocks. Then bolt the axle back to leaf springs. Install brand-new shocks. Reinstall and reconnect all of the brake lines, hardware, and wiring. Proceed with reinstalling the wheels. Now you can enjoy driving your 4×4 2018 Chevy Silverado 2500 HD Midnight Edition Duramax Diesel Z71 package both on the streets and off-road with 8 inches higher than its stock version.
YouTube Video: Chevy Silverado 2500 Readylift 8 Inch Lift Kit Installation
Add Comment